快速上手
环境准备
首先得有 node,并确保 node 版本是 10.13 或以上。(mac 下推荐使用 nvm 来管理 node 版本)
$ node -vv10.13.0
推荐使用 yarn 管理 npm 依赖,并使用国内源(阿里用户使用内网源)。
# 国内源$ npm i yarn tyarn -g# 后面文档里的 yarn 换成 tyarn$ tyarn -v# 阿里内网源$ tnpm i yarn @ali/yarn -g# 后面文档里的 yarn 换成 ayarn$ ayarn -v
脚手架
先找个地方建个空目录。
$ mkdir myapp && cd myapp
通过官方工具创建项目,
$ yarn create @umijs/umi-app# 或 npx @umijs/create-umi-appCopy: .editorconfigWrite: .gitignoreCopy: .prettierignoreCopy: .prettierrcWrite: .umirc.tsCopy: mock/.gitkeepWrite: package.jsonCopy: README.mdCopy: src/pages/index.lessCopy: src/pages/index.tsxCopy: tsconfig.jsonCopy: typings.d.ts
安装依赖
$ yarnyarn install v1.21.1[1/4] 🔍 Resolving packages...success Already up-to-date.✨ Done in 0.71s.
启动项目
$ yarn startStarting the development server...✔ WebpackCompiled successfully in 17.84sDONE Compiled successfully in 17842ms 8:06:31 PMApp running at:- Local: http://localhost:8000 (copied to clipboard)- Network: http://192.168.12.34:8000
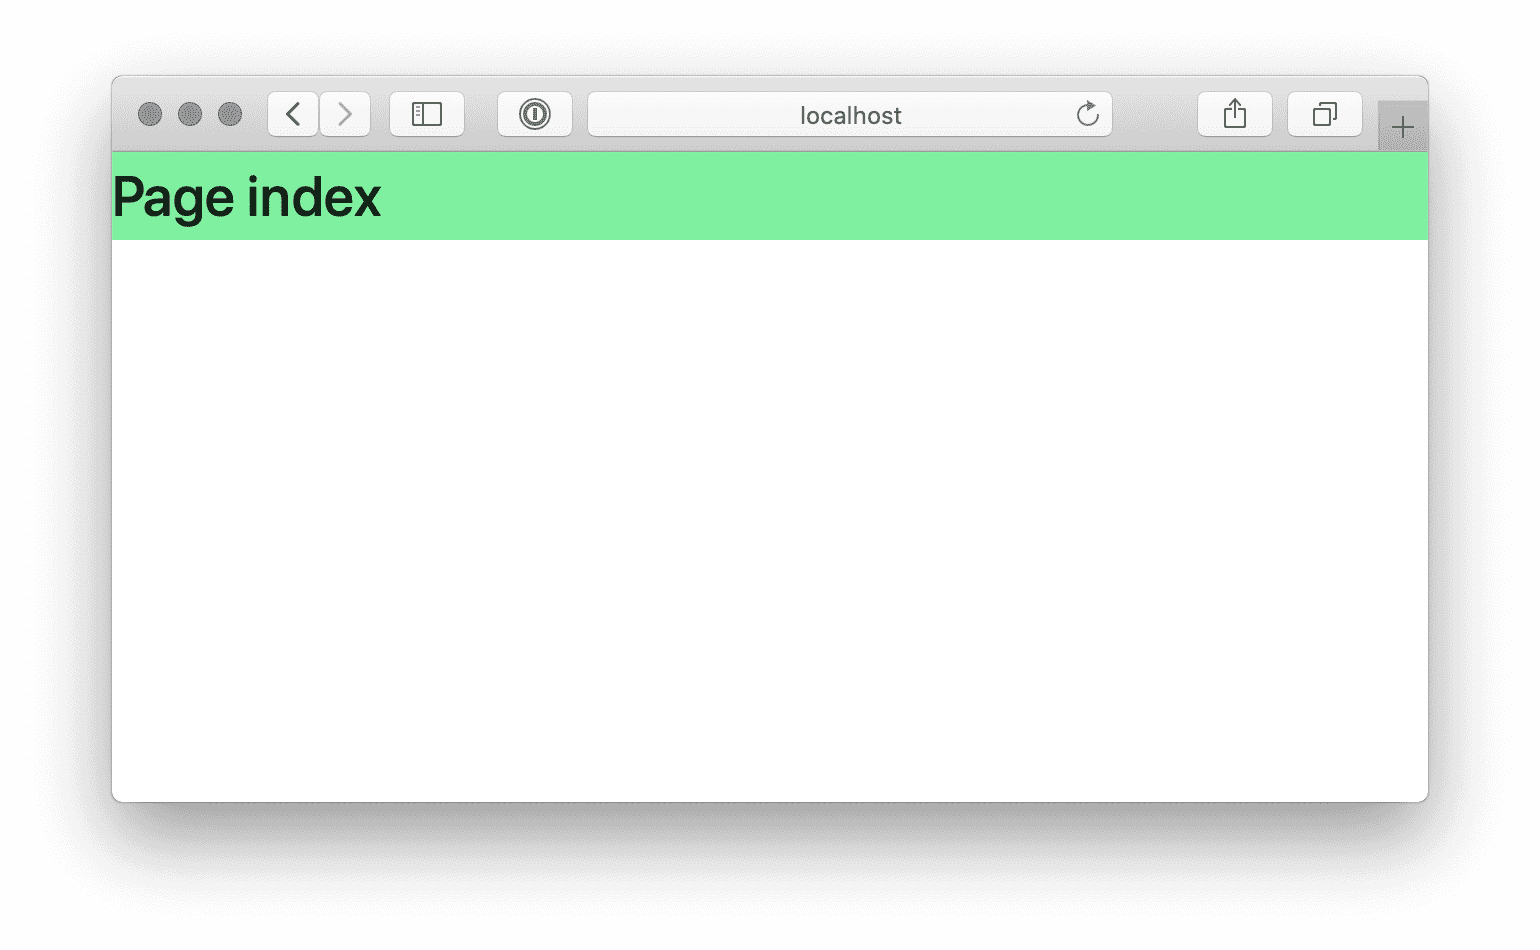
在浏览器里打开 http://localhost:8000/,能看到以下界面,
修改配置
默认的脚手架内置了 @umijs/preset-react,包含布局、权限、国际化、dva、简易数据流等常用功能。比如想要 ant-design-pro 的布局,编辑 .umirc.ts 配置 layout: {},并且需要安装 @ant-design/pro-layout。
import { defineConfig } from 'umi';export default defineConfig({+ layout: {},routes: [{ path: '/', component: '@/pages/index' },],});
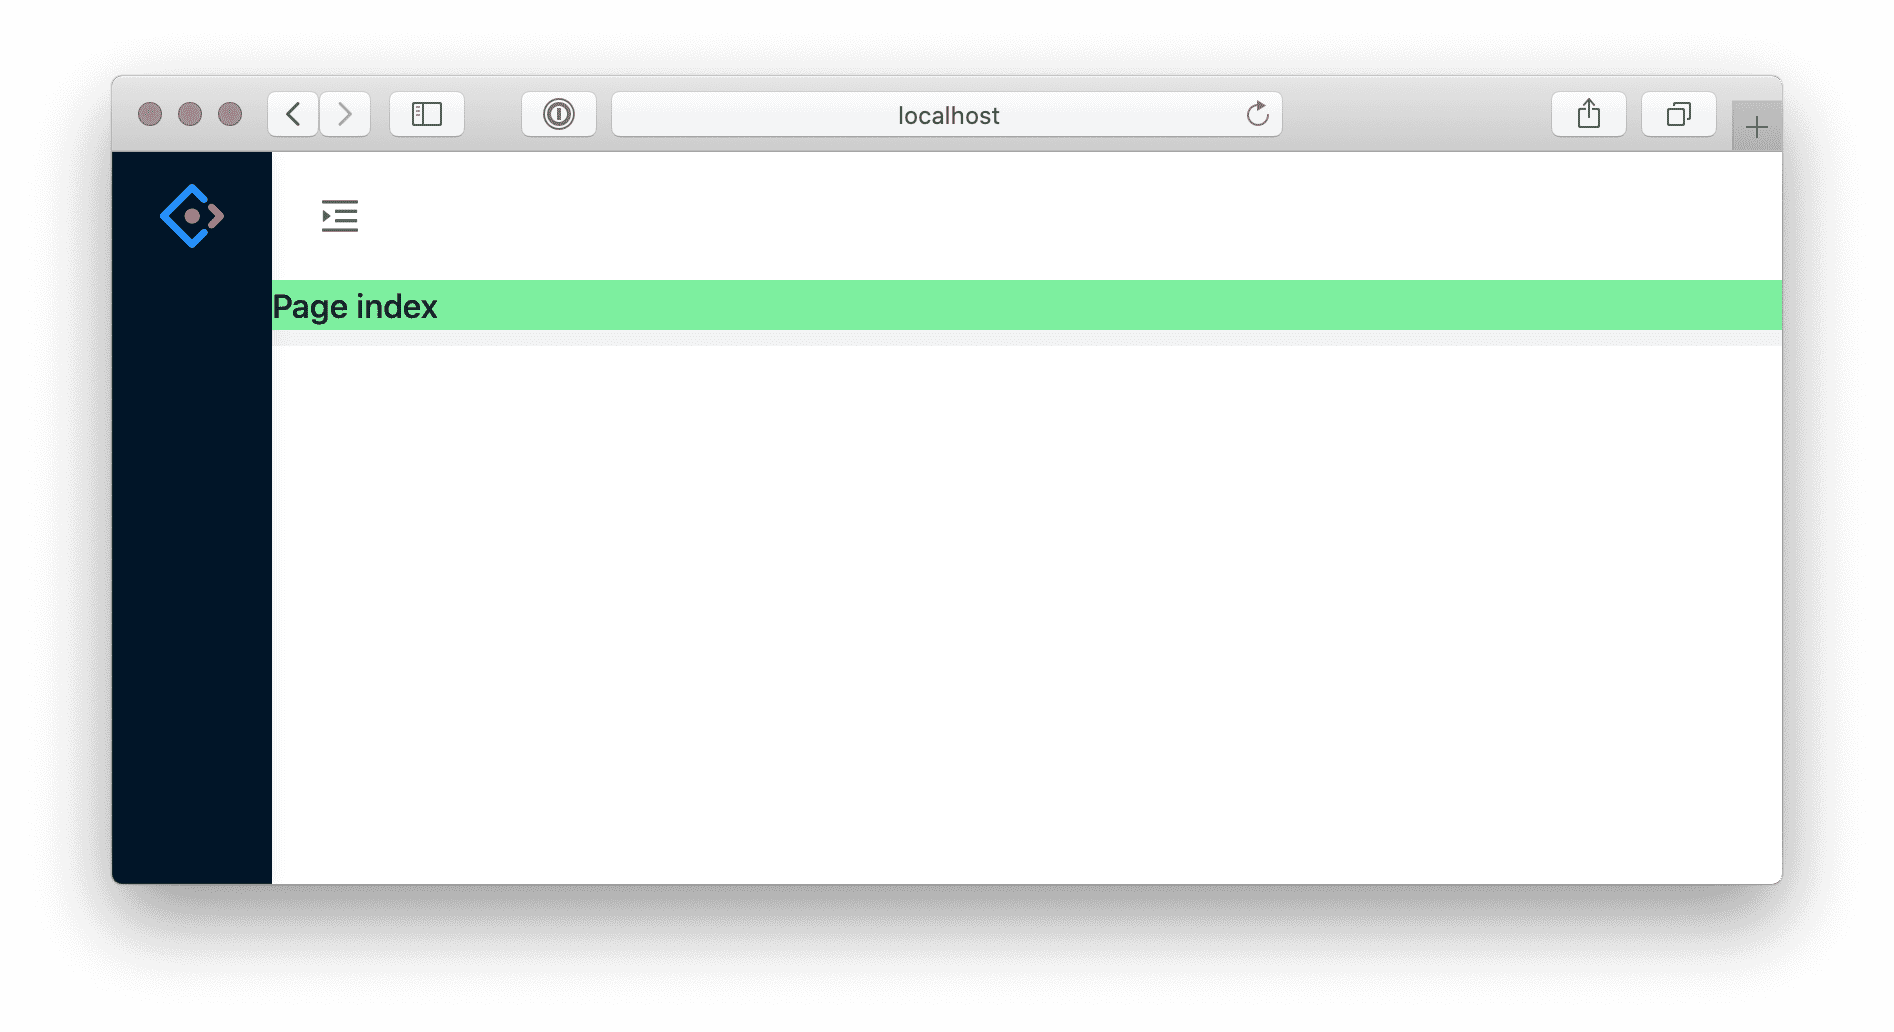
不用重启 yarn start,webpack 会在背后增量编译,过一会就可以看到以下界面,
部署发布
构建
$ yarn build✔ WebpackCompiled successfully in 17.17sDONE Compiled successfully in 17167ms 8:26:25 PMBuild success.✨ Done in 20.79s.
构建产物默认生成到 ./dist 下,然后通过 tree 命令查看,
tree ./dist./dist├── index.html├── umi.css└── umi.js
本地验证
发布之前,可以通过 serve 做本地验证,
$ yarn global add serve$ serve ./dist┌────────────────────────────────────────────────────┐│ ││ Serving! ││ ││ - Local: http://localhost:5000 ││ - On Your Network: http://192.168.12.34:5000 ││ ││ Copied local address to clipboard! ││ │└────────────────────────────────────────────────────┘
访问 http://localhost:5000,正常情况下应该是和执行 yarn start 时是一致的。
部署
本地验证完,就可以部署了。你需要把 dist 目录部署到服务器上。